HooToo, OpenWrt, OpenVPN

Here’s a post for my fellow network ninjas. Yesterday, with some assistance from my networking sensei, Ale Ramos, I managed to install and set up OpenVPN on OpenWrt inside my little HooToo HT-TM02. That’ll be mumbo-jumbo for some people, but if you know what that means, you know it’s a big deal.
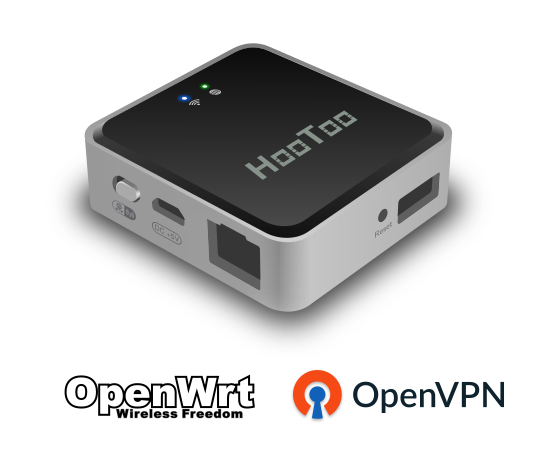
Boy, was I excited when that worked! So much so that I spent last night drawing the HooToo above in Inkscape and I’m quite proud of the result. Looks good, don’t you think? Between that drawing and the VPN I’m feeling renewed love for my handy travel router. It’s like a Christmas present for myself.
Ok, the recipe
I won’t extend much. My fellow ninjas (Lu, I’m looking at you) can follow concise instructions. What I’m trying to achieve here is to setup a OpenVPN client connection to my server and then have every wireless station of the HooToo send its internet traffic through that VPN, a common thing used here in Cuba to circumvent internet restrictions (both internal and external).
These were the steps:
-
Install OpenWrt inside your HooToo travel router. Get started here.
-
Get your HooToo online and
sshto it. -
Run
opkg updateto update the list of packages. In my short experience, this must be done everytime the router restarts, probably to save disk space. For instance, the HT-TM02 has only 4MB in the root partition. -
Install
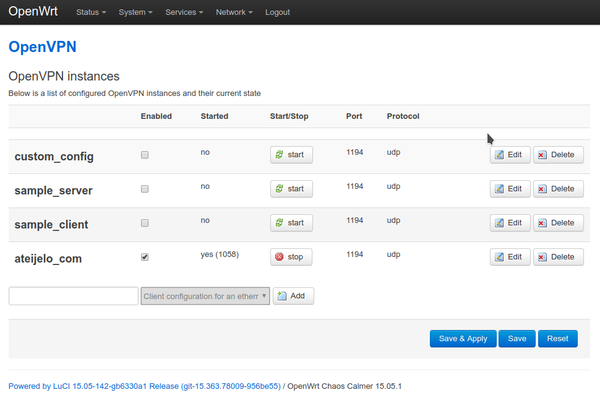
openvpn-opensslandluci-app-openvpn -
That second package is a OpenVPN app for LuCi (OpenWrt’s web interface). It looks like this:
-
Using that interface, create a new config for your VPN. There you can set up your remote host, the port, the protocol, and your credentials, that is, CA cert, client cert & client key. In this point, you should be already able to start the VPN and ping your remote end from inside your HooToo.
-
Next is forwarding and NAT’ing
-
Go to Network -> Interfaces and create a new interface. I named mine
vpn. Choose Unmanaged for the protocol and selecttun0as the covered device. If it’s not there, add it at Custom. -
Go to Network -> Firewall and create a new zone that covers the VPN interface you created in the previous step. Enable masquerading and under Inter-Zone Forwarding enable forwarding from your WLAN zone, that is the zone of your wireless stations.
That should do it.
I must confess I had a hard time getting the firewall to work and I ended up opening it too much. You probably don’t want to accept INPUT traffic on your WAN zone (the one that faces the internet), but you need it for the VPN to work. So, either set it to ACCEPT, or leave it ar REJECT and set a specific traffic rule allowing incoming VPN traffic.
Speak your heart in the comments.
The Illustration
The HooToo illustration above has managed to catch the attention of my friends more than having installed OpenVPN in my real HooToo. So, here’s a short follow-up post about it.