BotW Panoramas
Creating BotW Panoramic Pictures
Back in February, this post was made in Reddit and I found it fascinating. The world of The Legend of Zelda: Breath of the Wild is expansive and gorgeous. And those panoramic views were great.
That post relied on one key idea: when aiming with the Phrenic Bow, the entire bow disappears from the screen, leaving just the cross-hair. However, most of the process was mostly manual. I wanted to fix that and then improve on some other aspects. My two main goals were:
- Make it as automatic as possible
- Base it on open source tools
The current result is on GitHub. The code depends on Python 2, OpenCV and Hugin.
If you got this far, I’ll use the opportunity to request help with Hugin. I chose it because it was what I found when looking for open-source tools for making panoramas. But my previous experience with it was close to zero, and I’d like people with more experience to take a look at what I did and suggest improvements.
The Climbing Method
There’s an alternative to using the Phrenic Bow method, that I like to call the “climbing” method. It was suggested in this comment to the original post in Reddit. When Link is climbing a surface, you can move the camera to between Link and said surface, and then Link disappears, giving an almost entirely clear screen except for the hearts.
The field of view with this method is bigger, requiring many fewer pictures to assemble a large view. However, everything is further away from the observer, giving a lot less details in the resulting panorama.
The last picture of the gallery at the end of this post is an example of a panorama built with that method.
The rest of this post focuses on the Phrenic Bow method, which is harder, but gives panoramas with more detail. And the code is written for the Phrenic Bow method only.
Instructions
The code is straightforward, you run the Python script and give it the images as arguments. Wait for a while, and you’ll hopefully get a properly composed panoramic picture. But to get there, you need to follow some guidelines.
1. Dependencies
The code was developed on Debian, and it depends on these packages:
python-opencvhugin-tools
However, making this run in Mac or Windows should not be hard, as these are open-source.
2. Taking the Screenshots
For best results, follow this rules when taking the screenshots. I did all this on a Nintendo Switch. I don’t know if this can be done on the Wii U’s version of the game.
-
Use the Phrenic Bow. It can be found in … (can’t remember, tell me in the comments below and I’ll add it here)
-
Use the Pro HUD. This removes the mini-map, the weather forecast, etc., leaving a cleaner image for the panorama.
-
Make the pictures overlap. The more they overlap, the better the results. But try to find a balance between overlap and total number of pictures. The stitching progress gets quadratically slower as the number of pictures increases. I try to stay below 100 pictures.
-
Hold the ZR button when taking the screenshot. This is optional, but highly recommended. That brings the three lines of the cross-hair closer to the center.
-
Zero Arrows. Also recommended. Use an arrow type for which you have no arrows. When you’re out of arrows and hold ZR, the game fades out the cross-hair a bit, improving the result of the OpenCV’s in-paint call that removes it.

The code works best with no arrows and holding ZR,
(but has options for the other scenarios too).
- Column-first. This is optional, but I find it gives me better results: grab your screenshots in a column-first fashion. I find it easier to ensure I don’t leave blind spots in the panorama.
Take screenshots in a column-first fashion.
- Disable motion-controls. Also optional, but I found it easer to control the placement of each screenshots if I didn’t have to worry about motion controls. They’re great for aiming; not so much for this.
3. Running the code
Transfer the pictures to your computer. Remember to turn off your Switch (hold power down until the power options menu shows up). Only then extract your MicroSD card. If you pull it out while the system is running, you risk corrupting your data. (Side question: is there a better way to bulk-transfer pictures from your Switch?)
Put all the pictures from the panorama you want to create in an empty directory and run:
python2 botw-panorama.py *.jpg
Of course, adjust the path to botw-panorama.py accordingly.
If you don’t want to hold ZR when taking your screenshots, or you have a lot of arrows of every type you don’t want to throw away you can tell that to the program:
python2 botw-panorama.py --arrows=999 --holding-zr=no *.jpg
This will use a different mask to remove the cross-hair and the number of arrows.
4. Manual Tweaks
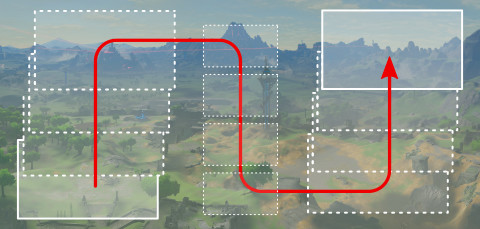
The output of the code will most certainly not be a rectangular image. You will need to crop it manually. Like this:

Hugin knows how to crop that automatically, but I’ve found that most of the time I want to make different trade-offs to those of its algorightms. So I do it manually.
Sometimes you get a really weird result, but one that it’s just a Move/Center operation away from a good one. For those cases, the tools leaves around the intermediate Hugin projects it creates. Open one of those, make whatever changes you deem necessary, and then run the tool again with --first-step=N to start from a given step instead of from the beginning.
Gallery
Here are some of my own creations. Click for a closer look.

From somewhere in Tabantha (I don't really remember where).
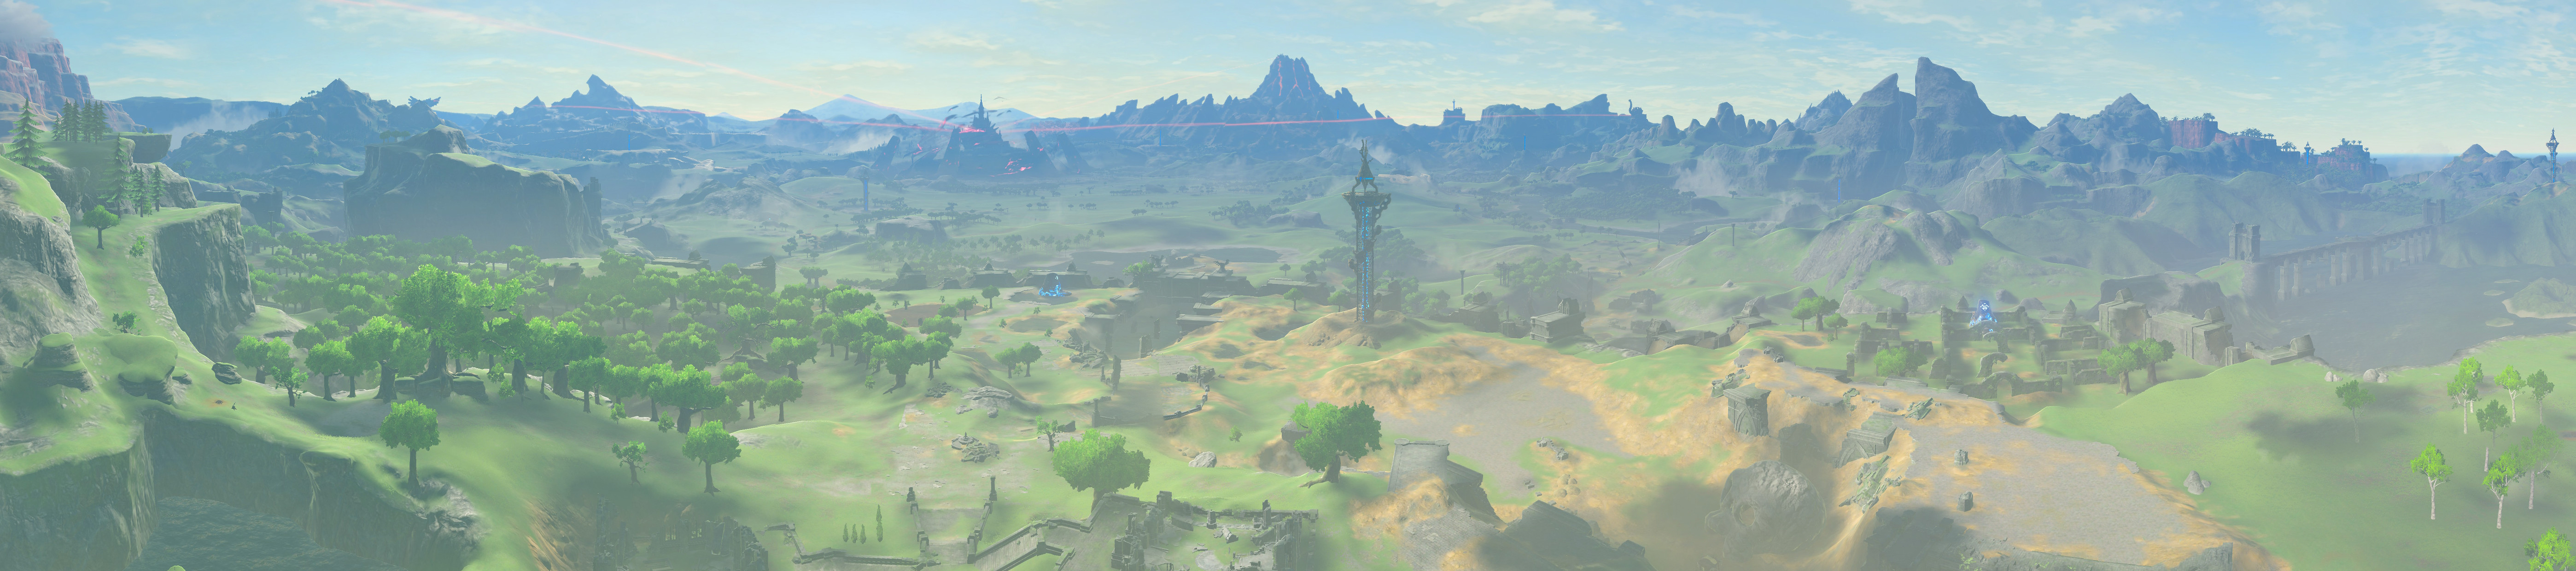
From the Temple of Time, in the Great Plateau.

Near the summit of Satori Mountain.

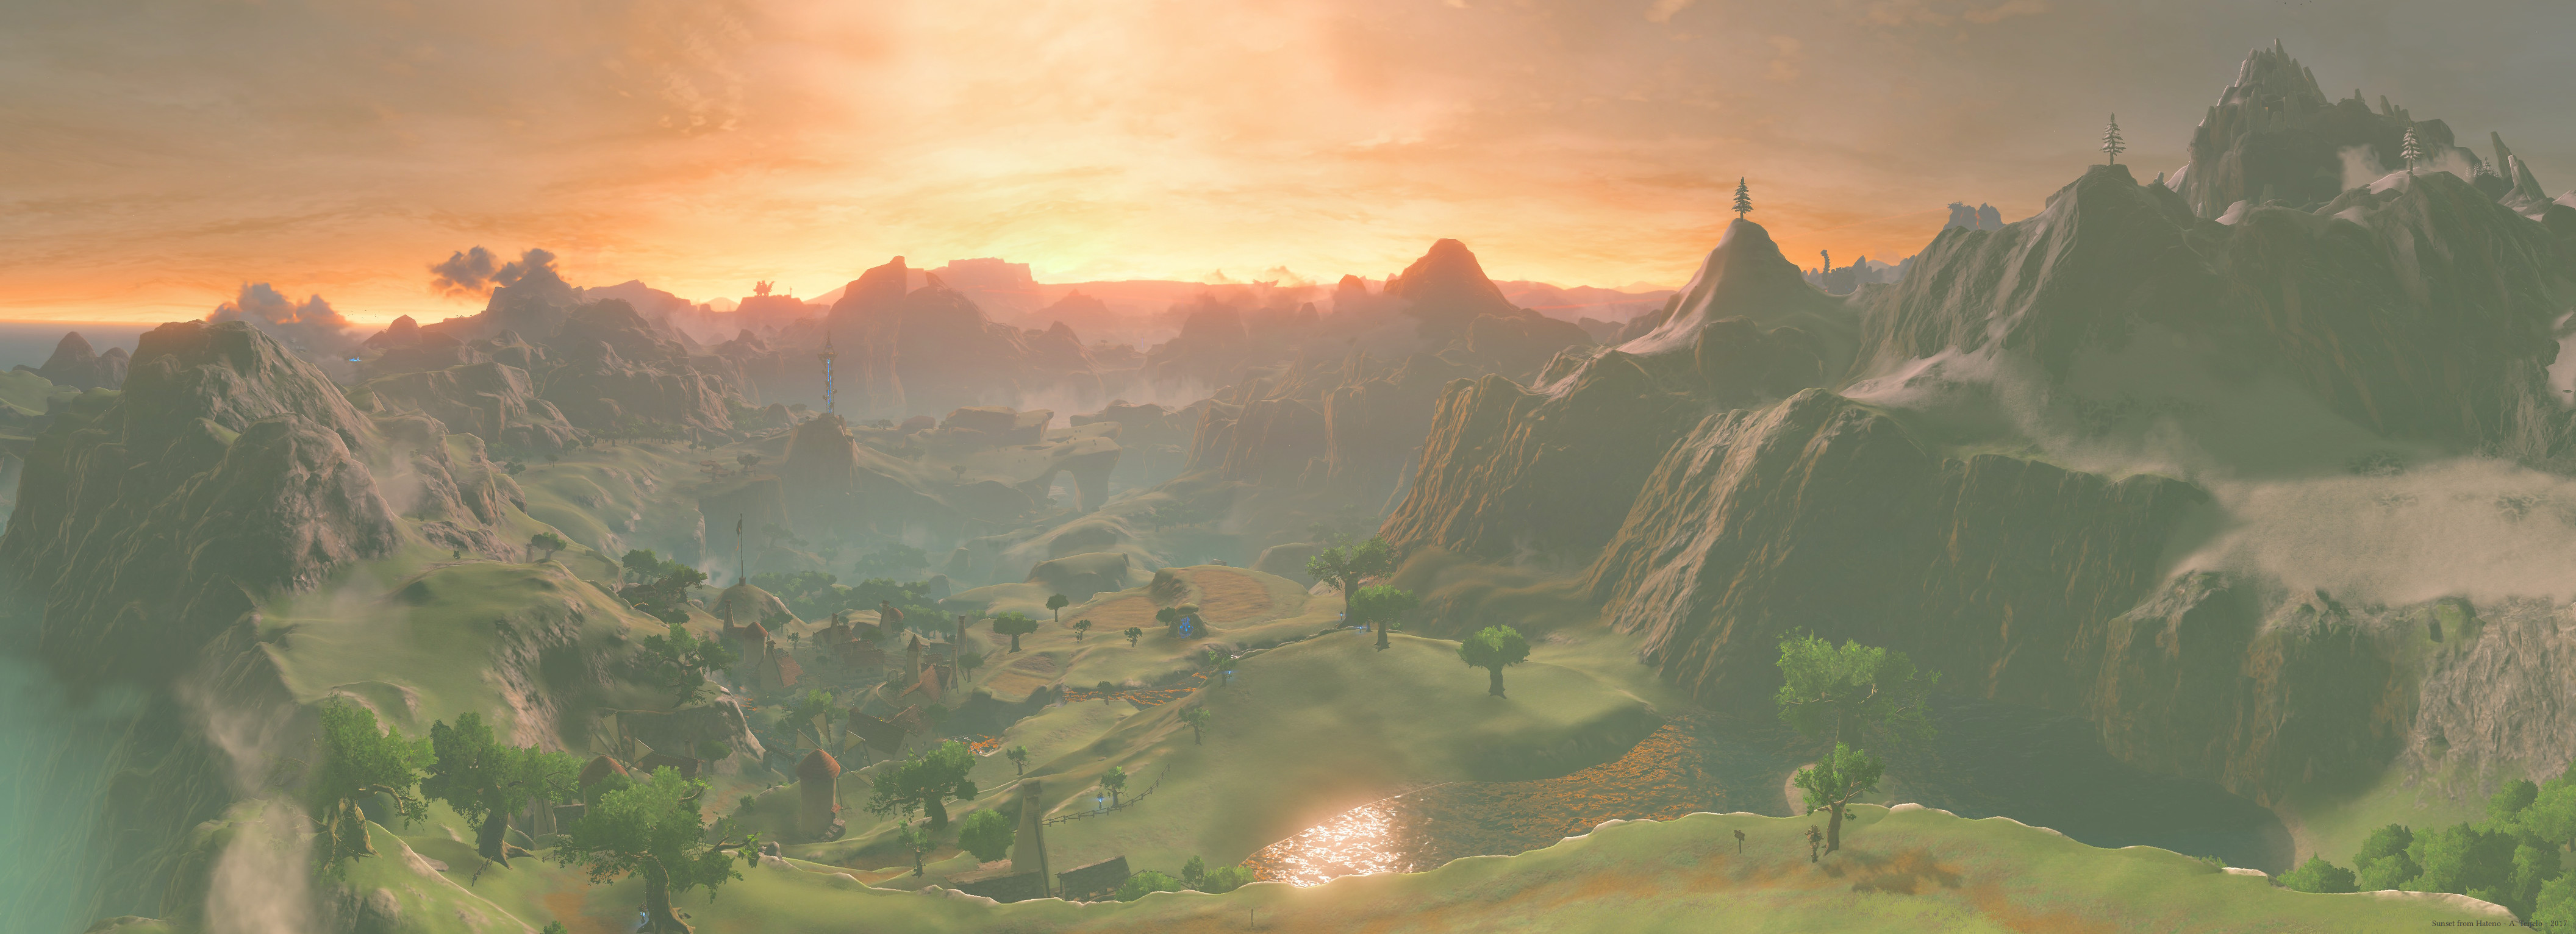
Lurelin Village at dawn.
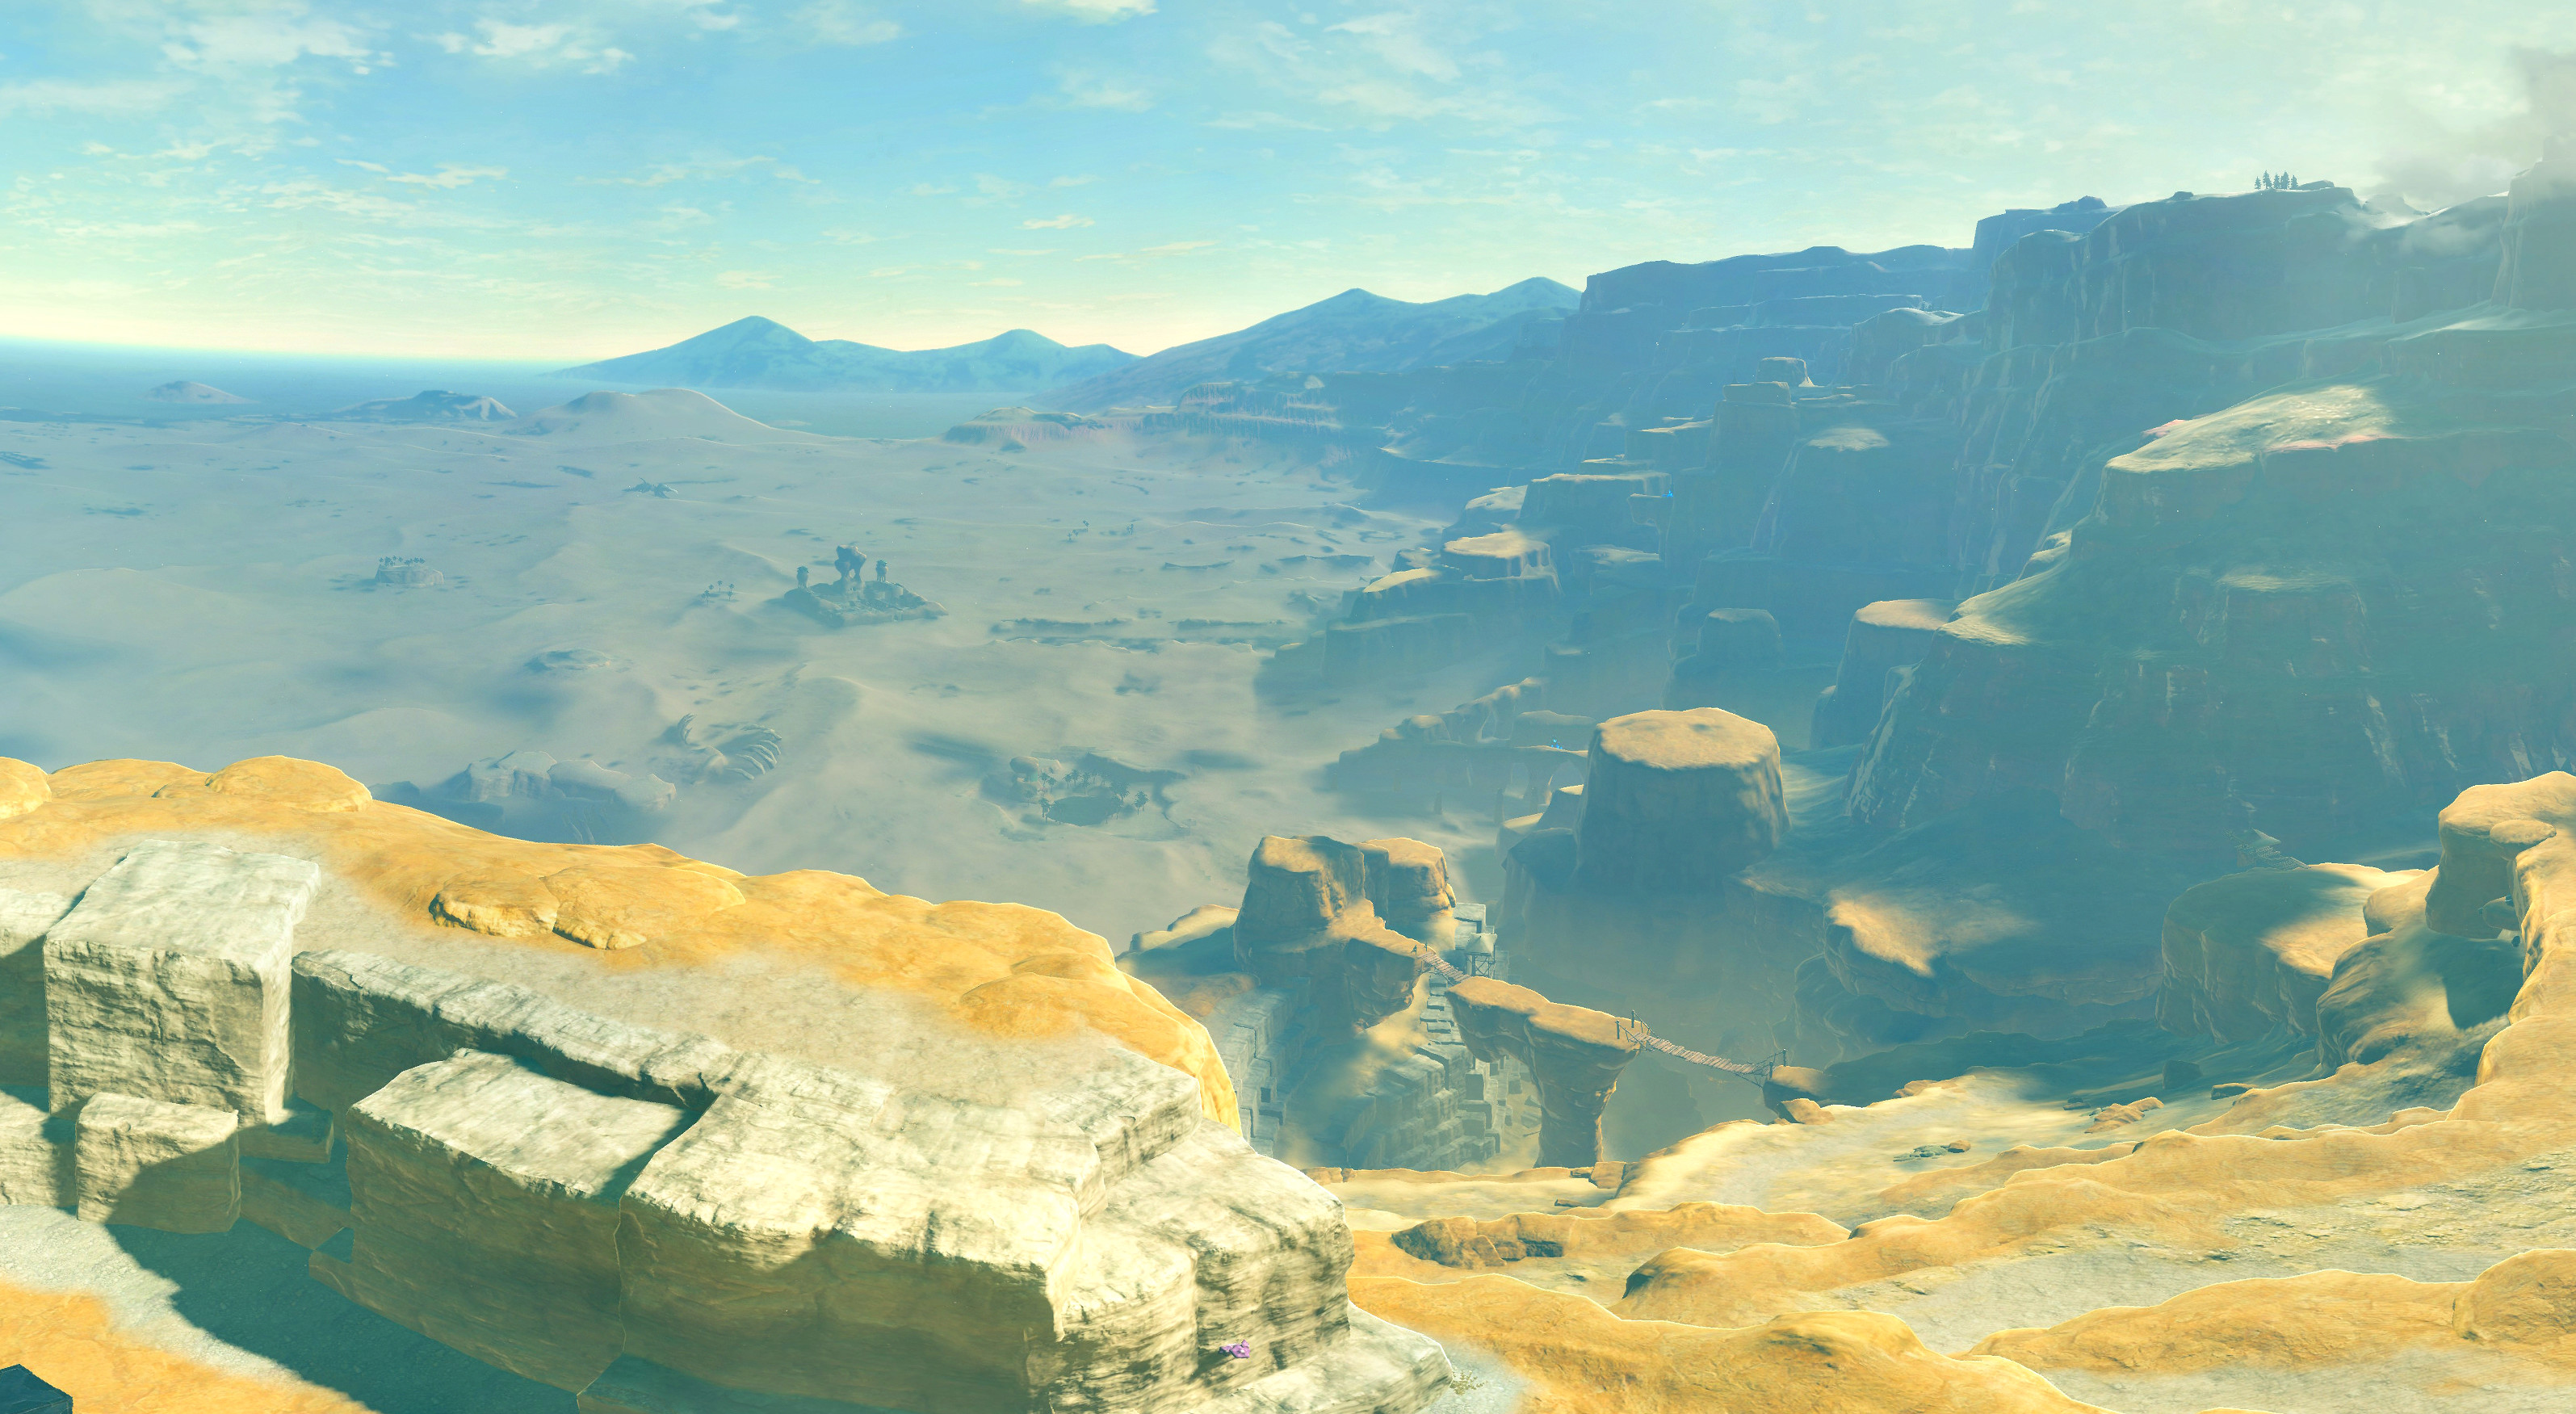
Part of the Gerudo Desert from Wasteland Tower.
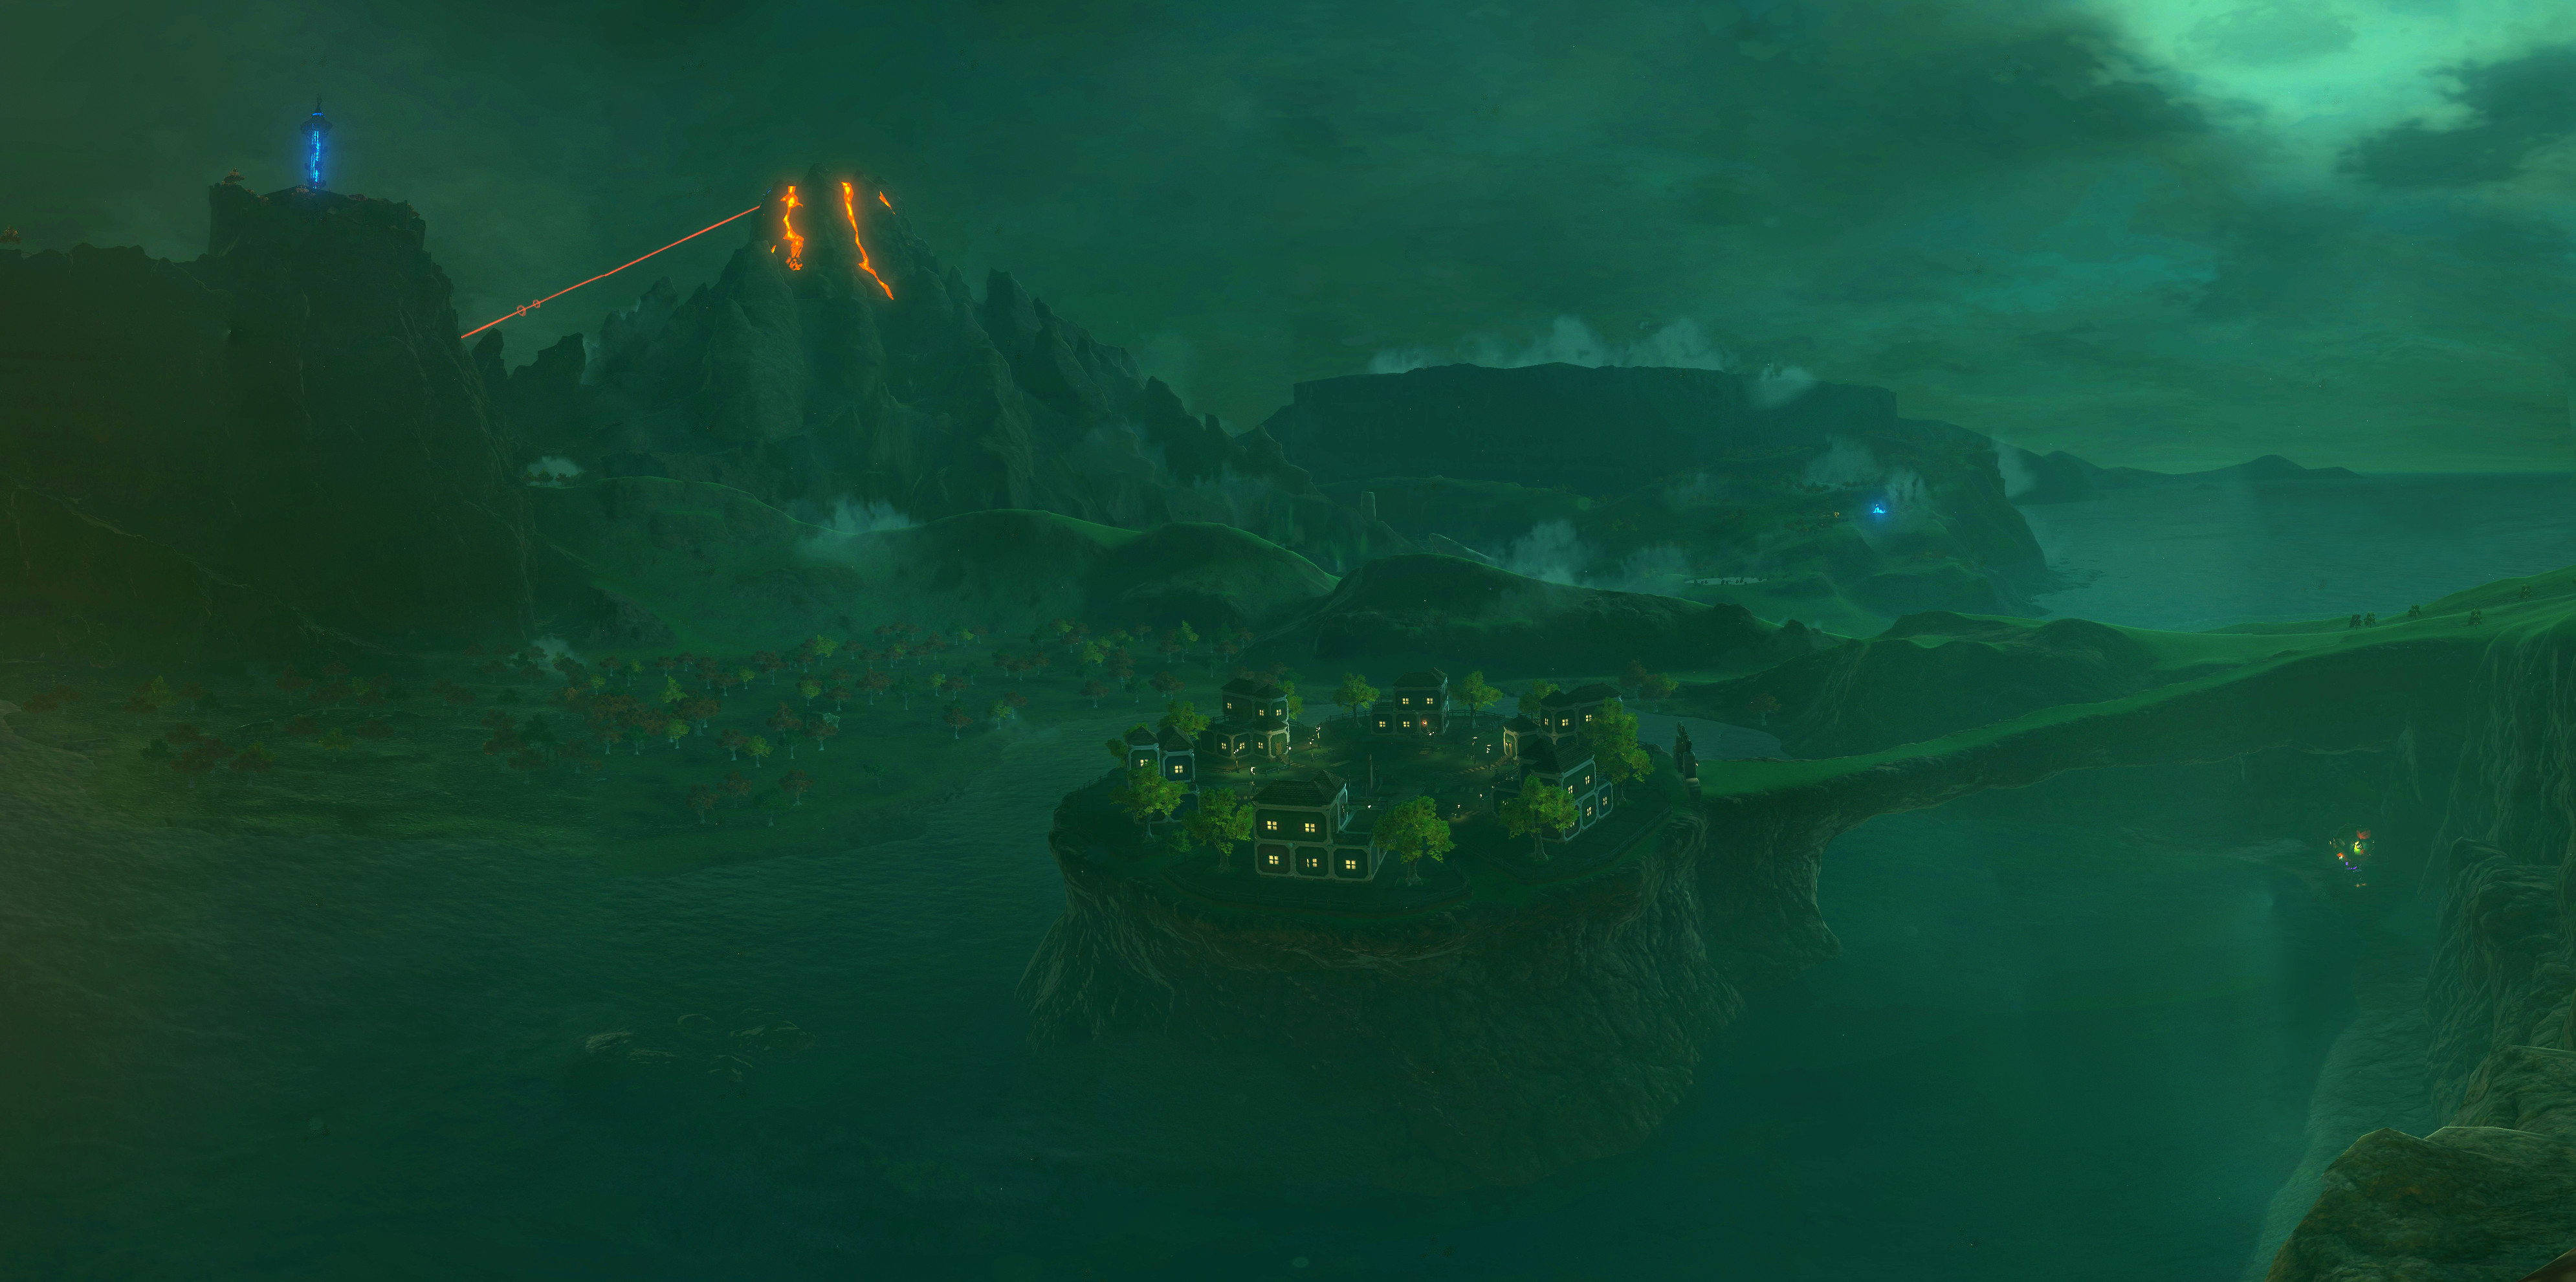
Tarry Town at night.

Night from a rock near Goron City

A peaceful afternoon by Woodland Stable
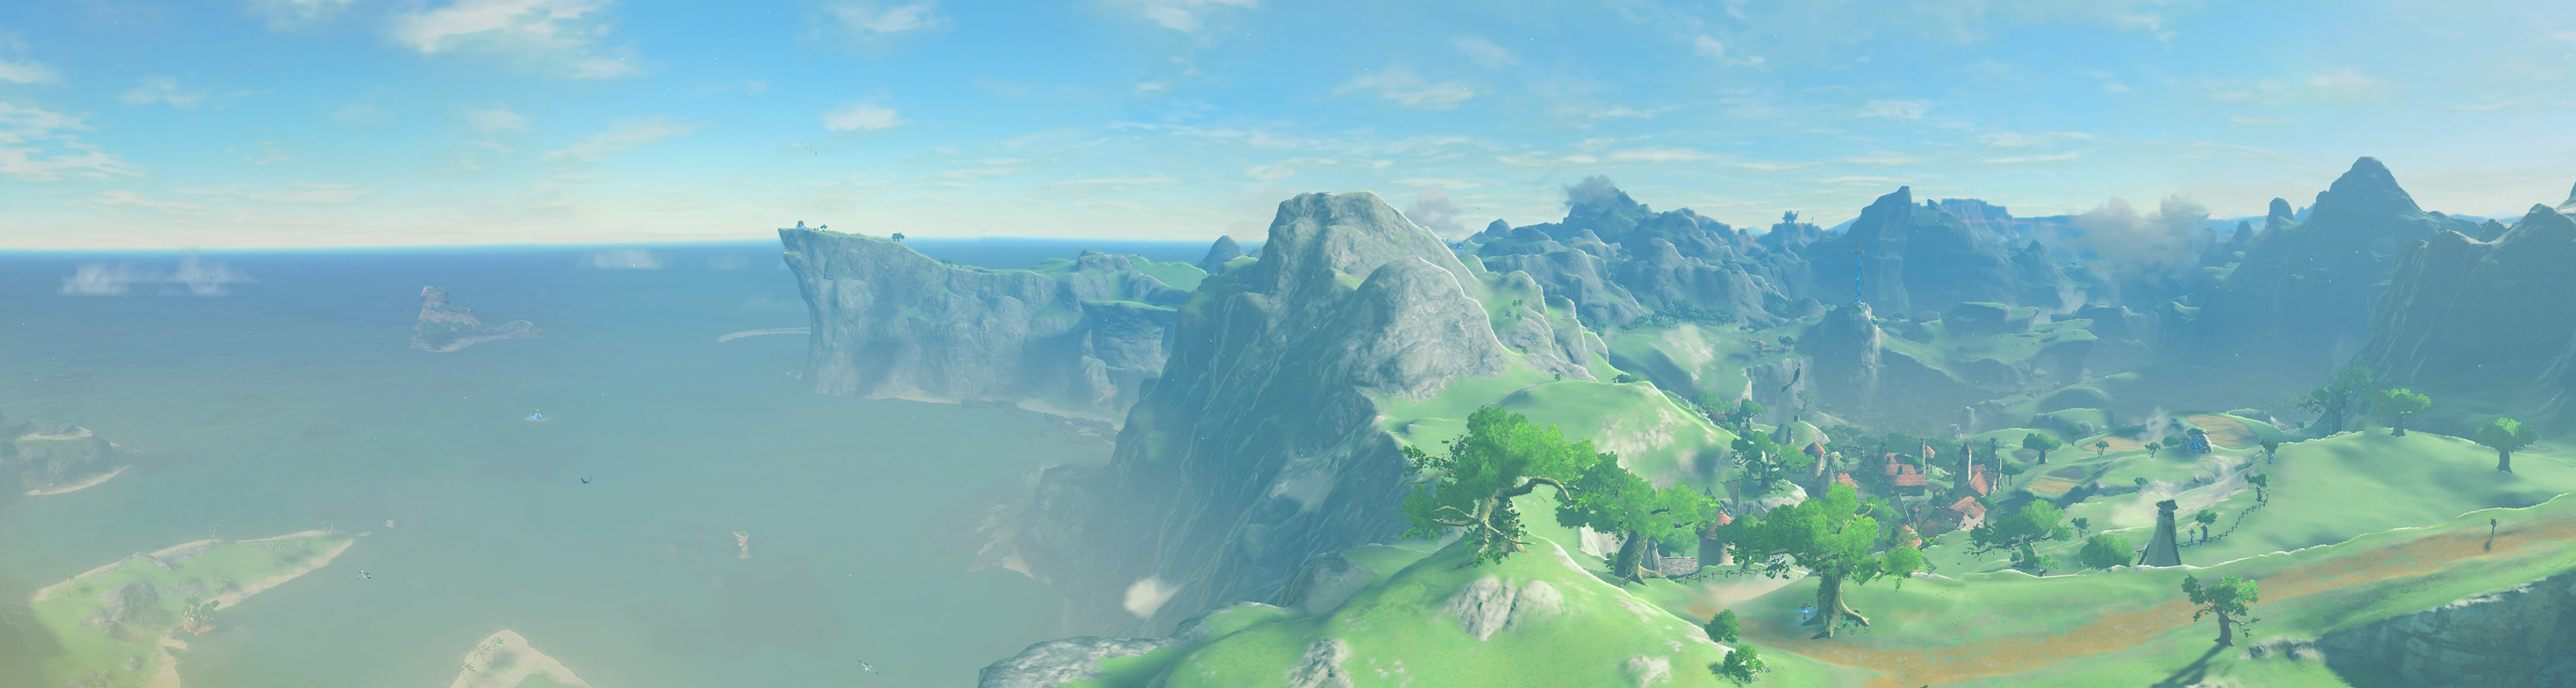
Hateno and the Necluda Sea from the Ancient Lab (using the Climbing method).
Well, fire away in the comments. Suggestions for improvements, GitHub pull-requests and flame wars are all welcome alike.